Author: pm

  • How to Access Your Home AI Model From Literally Anywhere

    How to Access Your Home AI Model From Literally Anywhere

    Running Ollama on your own computer is a total game-changer for messing around with local AI. But you know what’s even cooler? Being able to prompt that exact same home setup while sitting at a coffee shop halfway across the world.

    Now, exposing a local machine to the wild web usually sounds like a fast track to getting hacked, but it’s actually remarkably simple to do safely. And honestly, as our PCs get beefier and more AI-capable, building a setup like this is quickly becoming the ultimate power-user move.

    Why Bother Routing Your AI Remotely?

    If you’re already running things locally, keeping a remote bridge open gives you some massive perks:

    • Total Privacy: Your data stays on your own hard drive. No tech giants or third-party servers are snooping on your prompts.
    • Saving Cash: You already paid for the hardware. Say goodbye to those annoying monthly SaaS subscriptions.
    • Smart Home Synergy: You can safely hook your AI up to your local smart home setup, security cameras, or private files.
    • Eco Perks: You’re optimizing your own gear’s energy use instead of spinning up massive data centers.

    By the way: This isn’t just for basic web chatting. Once your machine is remotely accessible, you can pipe your environment straight into terminal tools and dev environments like Claude Code, Codex, or Antigravity CLI.

    The Easiest Way to Do It: n8n + Cloudflare Tunnels

    There are a few ways to bridge the gap, but the smoothest, most secure method is pairing n8n’s AI Agent with Cloudflare Tunnels.

    Step 1: Lock Down the Connection

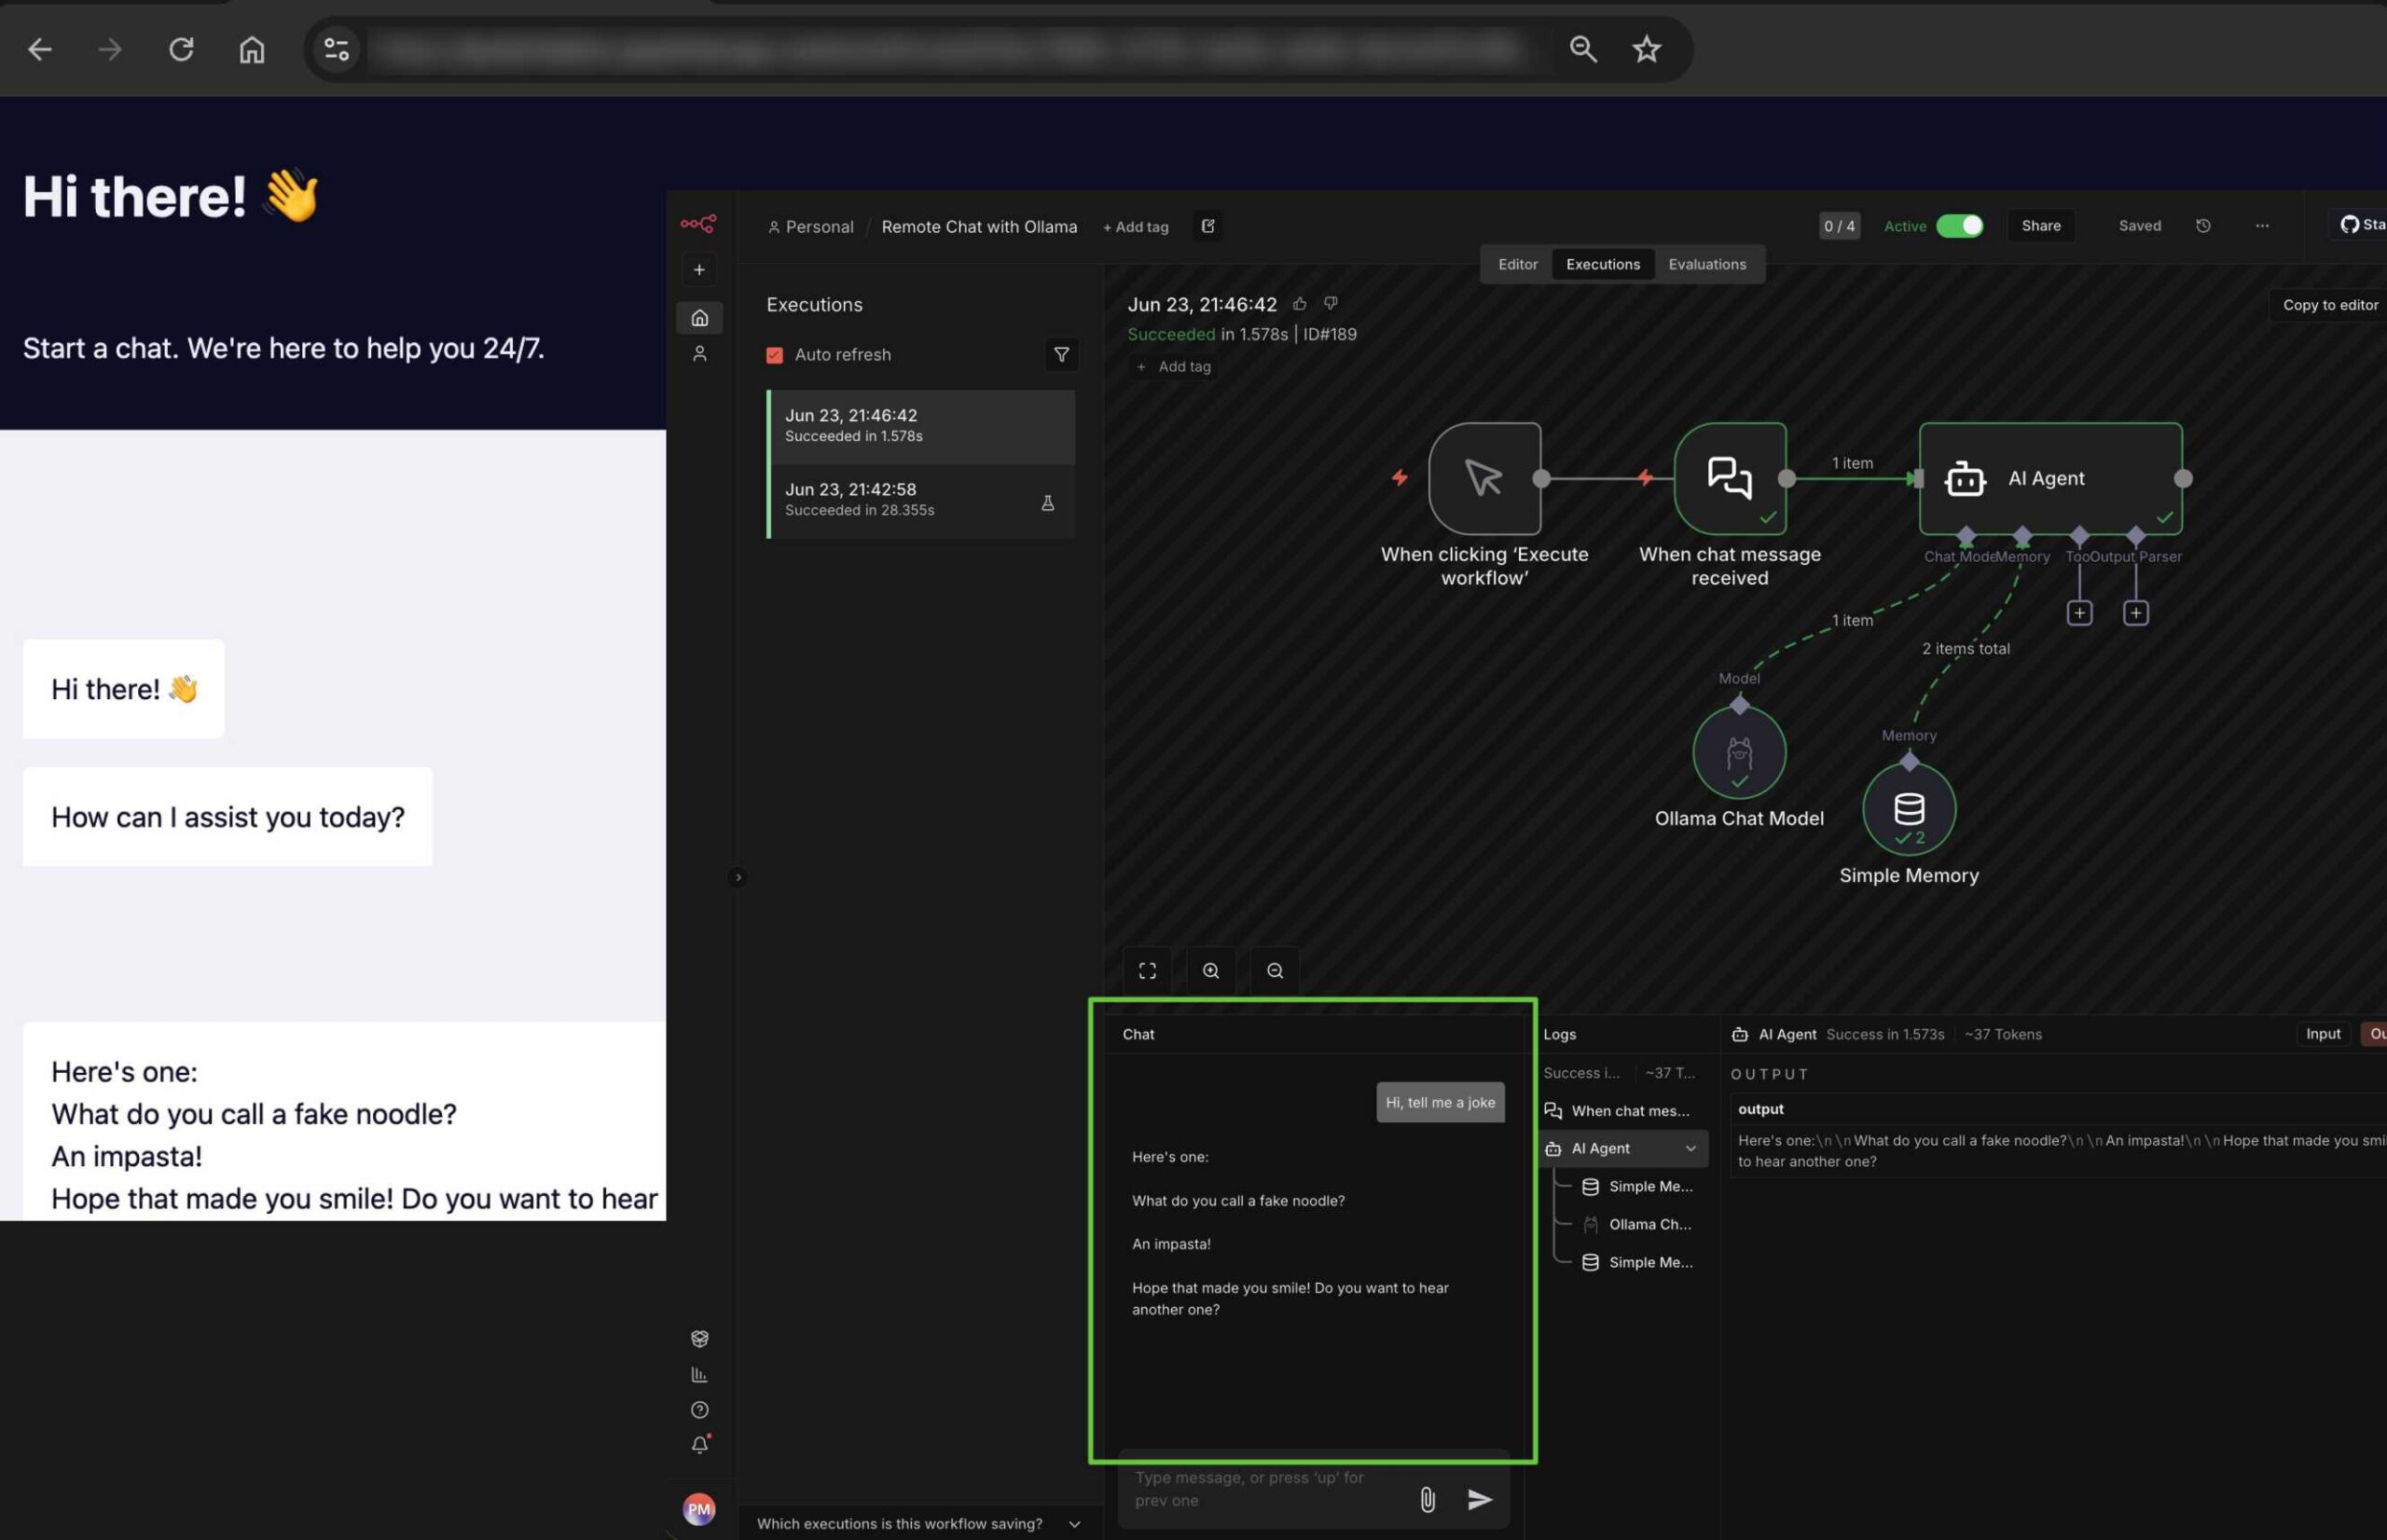
    First, you need a safe way to expose your local setup. Instead of messing with complex network routing, watch this quick video walkthrough to get n8n running locally and safely broadcasting via a secure Cloudflare URL: 👉 Watch the Installation Tutorial on YouTube

    Step 2: Build the Workflow

    Once your n8n instance is live on the web, setting up the actual AI backend takes about two minutes:

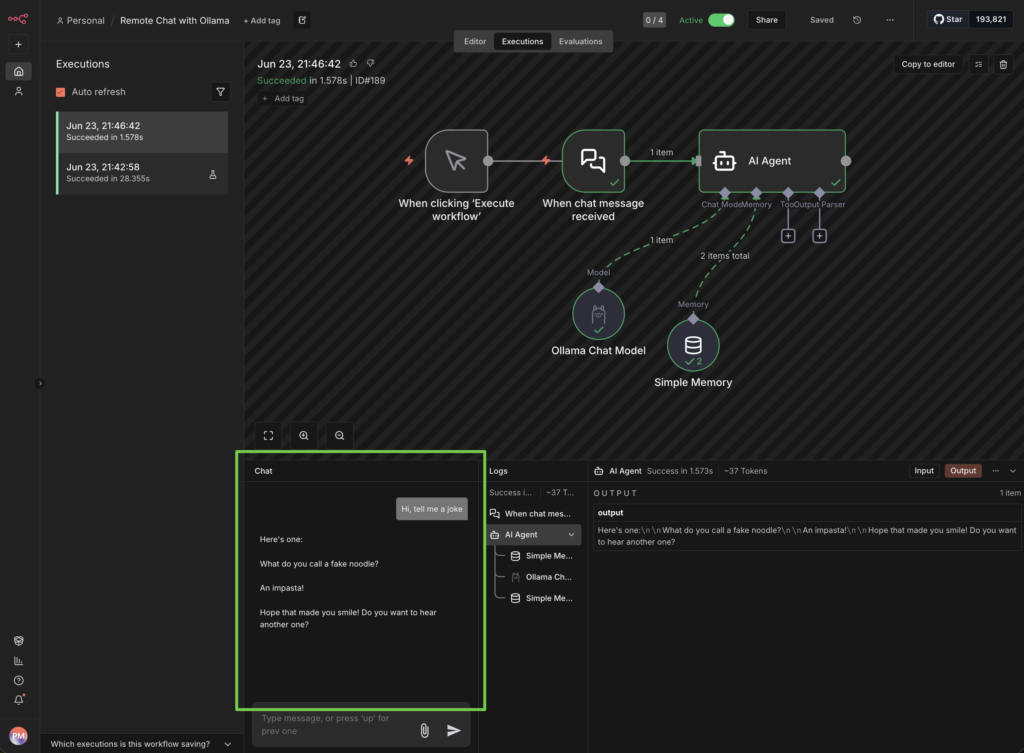
    1. Open up n8n and create a fresh workflow.
    2. Drop in a Chat Trigger node and wire it to an AI Agent node.
    3. Link your Ollama Chat Model to that agent, and slap on a Simple Memory node so it remembers what you said two seconds ago.
    Step 3: Flip the Switch

    Head into your Chat Trigger settings and toggle on “Make Chat Publicly Available.”

    And that’s it. You officially have your own private, self-hosted AI chat interface that you can log into from any browser on earth.

    Local AI is Only Getting Better

    We are living in wild times for local hardware. Chip tech is exploding, and both Windows and Apple are baking AI directly into the core of their operating systems.

    We’re also seeing a massive shift in how developers work. Code editors like VSCode can seamlessly bind to Ollama now, giving you robust autocomplete and coding assistance without needing an active internet connection or a paid subscription. Setting up a remote tunnel today isn’t just a fun project—it’s future-proofing your daily workflow for the next wave of private computing.
  • Run AI Models Locally on Your Computer with Ollama

    Run AI Models Locally on Your Computer with Ollama

    A few months ago, while having breakfast with colleagues, the conversation turned to how AI is reshaping work. Suddenly, someone asked a pivotal question: “How do you think the AI revolution is going to impact our planet? It consumes a massive amount of energy.”

    It’s a valid concern. Companies, organizations, and nations feel forced to adopt AI to stay competitive, making its usage inevitable. While renewable options like solar and nuclear power exist, scaling them to meet this demand comes with significant challenges.

    The Case for Local AI

    Fortunately, there is a sustainable alternative. Many capable AI models designed for small-to-medium tasks can run directly on your personal computer. By shifting lighter workloads to local machines, we can collectively reduce the demand on massive, energy-intensive cloud infrastructure. It’s a win-win for productivity and the planet.

    Beyond sustainability, running AI locally offers a major privacy advantage. You don’t have to worry about third-party companies collecting your personal data or injecting ads into your chat experience.

    Previously, tools for running local models were often strictly command-line based and difficult to recommend to casual users. That has changed with Ollama.

    Getting Started with Ollama

    Ollama makes running these models incredibly user-friendly. Here is how to get set up:

    1. Download the App: Visit the Ollama download page to get the installer for your system.
    2. Install & Run: Once installed, Ollama typically downloads Google’s Gemma model by default. At around 3.3GB, it is efficient and runs smoothly on most modern computers.

    Note: You can explore other models and check their file sizes in the Ollama Library.

    The Experience

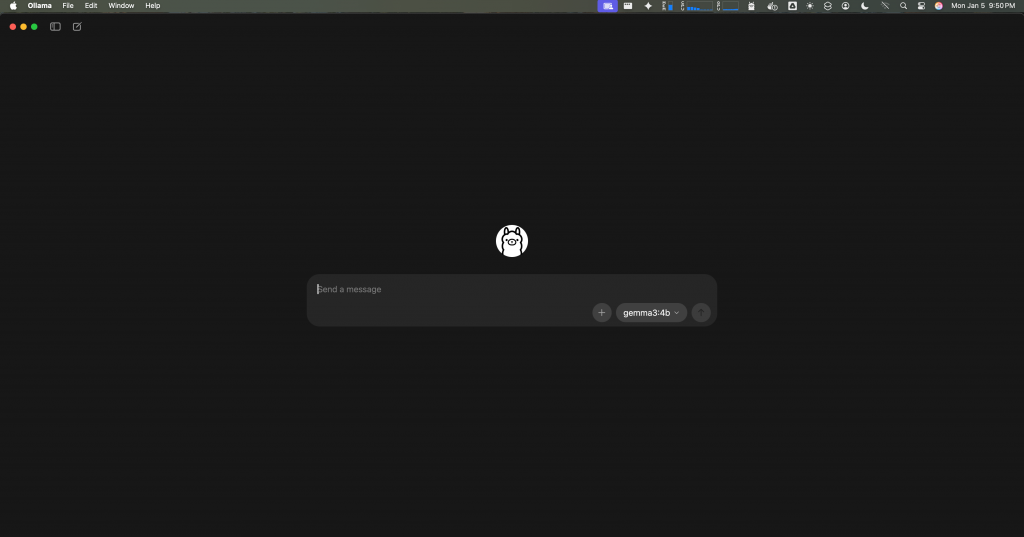
    Ollama provides a clean desktop interface for chatting with your AI. For those who prefer it, the CLI (Command Line Interface) is also available and robust.

    Ollama desktop app screenshot

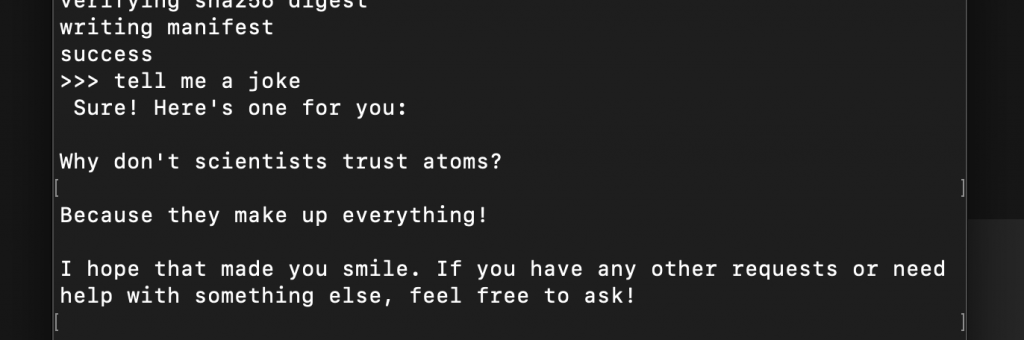
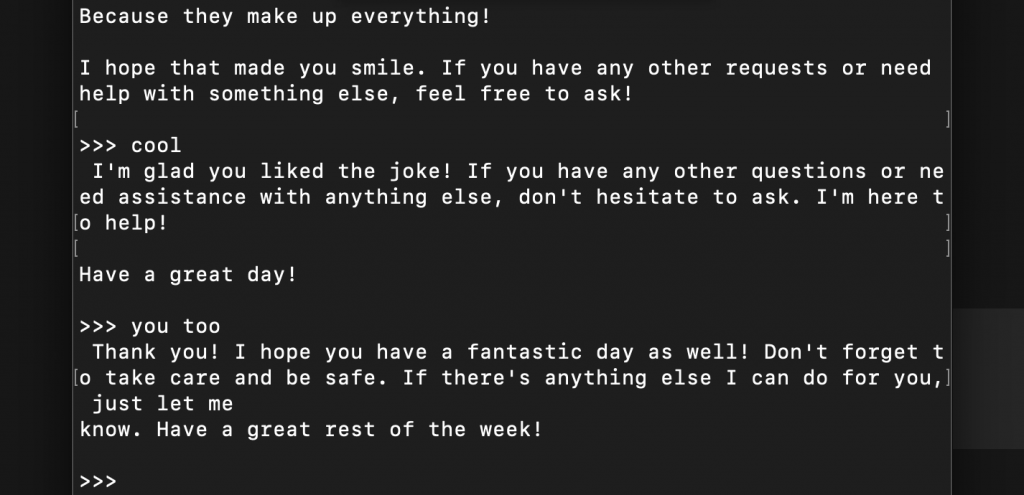
    Here is a quick look at the CLI tool:

    Ollama CLI chat

    I guess the only real way to know you’re talking to an AI is that it always insists on having the last word! LOL.

    I have personally tested Mistral AI’s Mistral 7B and Meta’s Llama 3.2 on a Mac Mini M1 with 16GB of unified memory, and both performed very well.

    Local AI is no longer just for developers. It is an accessible, private, cost-friendly and efficient way to use AI every day.

  • Rendering Images with No Cumulative Layout Shift

    Rendering Images with No Cumulative Layout Shift

    Cumulative Layout Shift (CLS) occurs when visible elements on a webpage unexpectedly move as new content loads. One common cause is images that initially have no defined height. When the browser loads such an image, it suddenly expands to its natural height, pushing surrounding elements and disrupting the layout. This negatively impacts user experience, particularly on slower connections or dynamic interfaces.

    1. Using the aspect-ratio CSS Property

    By specifying the aspect-ratio and defining the width of an image, the browser can calculate and reserve the correct height before the image fully loads. This prevents any sudden shift when the image is rendered.

    img {
      width: 100%;
      aspect-ratio: 16 / 9;
    }

    2. Setting width and height Attributes with CSS Rules

    Another effective approach is to use the width and height attributes directly in the HTML <img> tag. Combined with CSS rules like width: 100%, the browser can compute the aspect ratio and allocate the correct space ahead of time.

    <img src="image.jpg" width="800" height="600" />
    img {
      width: 100%;
      height: auto;
    }

    3. Using Skeletons in Client-Side Rendering

    When loading images dynamically via AJAX or other client-side methods, skeleton placeholders can be used to reserve space and provide visual feedback. These lightweight placeholders mimic the size and shape of the image, reducing perceived load time and avoiding layout jumps.

    <div class="image-skeleton"></div>
    .image-skeleton {
      width: 100%;
      aspect-ratio: 16 / 9;
      background-color: #eee;
    }

    Conclusion

    Minimizing Cumulative Layout Shift is crucial for delivering a stable and seamless user experience. Whether you’re using static images or dynamically loaded content, reserving space through proper sizing techniques like the aspect-ratio property, HTML attributes, or skeletons ensures the layout remains predictable. By implementing these strategies, you enhance visual consistency and improve Core Web Vitals, which can positively impact SEO and overall usability.

  • Optimizing Input Fields with Debounce

    Optimizing Input Fields with Debounce

    Debounce is a powerful technique for optimizing resource-intensive features in input fields, such as search and autocomplete. For example, consider a search feature that displays autocomplete suggestions. It’s inefficient to call the search API for every single character typed because:

    1. A single letter is rarely enough to produce meaningful results.

    2. For multi-word queries, calling the API for each partially typed word is wasteful.

    A very basic solution is to detect “complete words” by splitting on spaces, but that doesn’t help when the user only types one term (with no spaces). Another strategy is sending requests at fixed time intervals while the user is typing, which cuts down on unnecessary calls.

    However, the most effective approach is Debounce. Debounce ignores rapid, consecutive function calls until the user pauses for a certain period, then sends one final request. As soon as the user stops typing, only the last input triggers the API call.

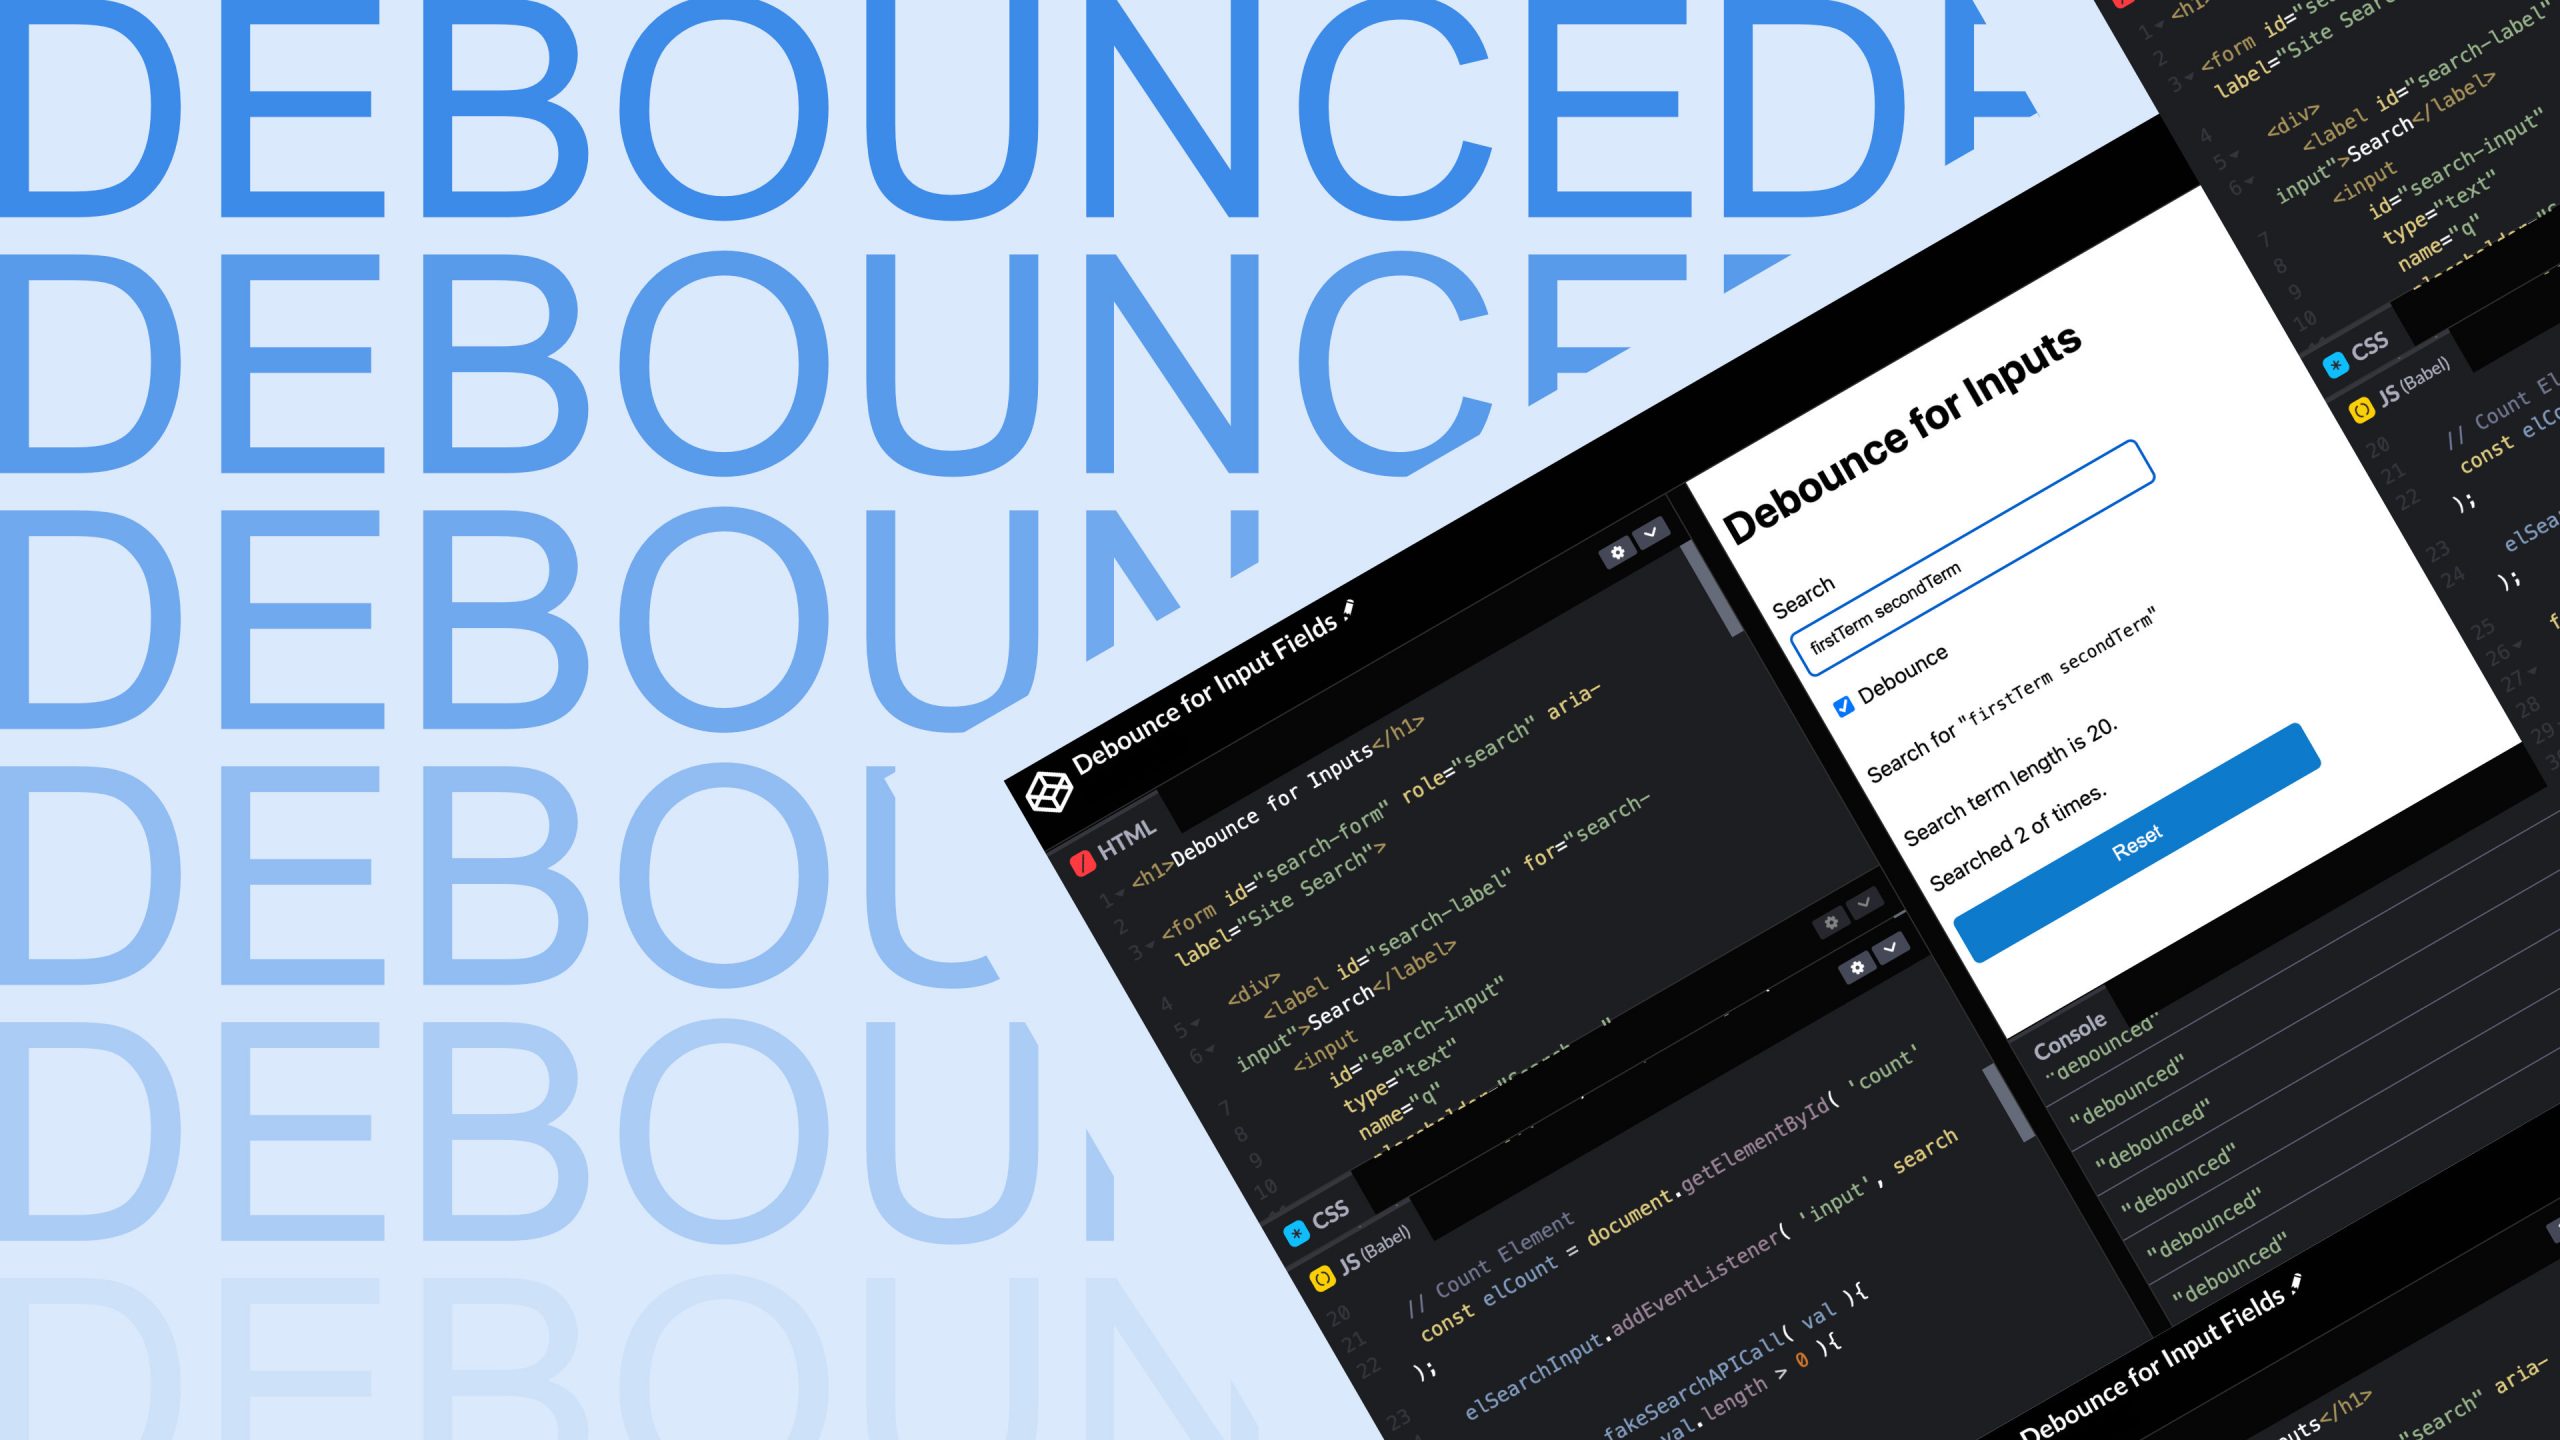
    See this CodePen example for a working demo:

    See the Pen Debounce for Input Fields by Paul Merupu (@Paul-Merupu) on CodePen.

    With Debounce in your toolkit, you can make your search and autocomplete features much more efficient and user-friendly. Give it a try, and happy coding!